

The Xerces Society for Invertebrate Conservation is an international nonprofit organization that protects the natural world through the conservation of invertebrates and their habitats. They have a fantastic resource for Monarch conservation here.
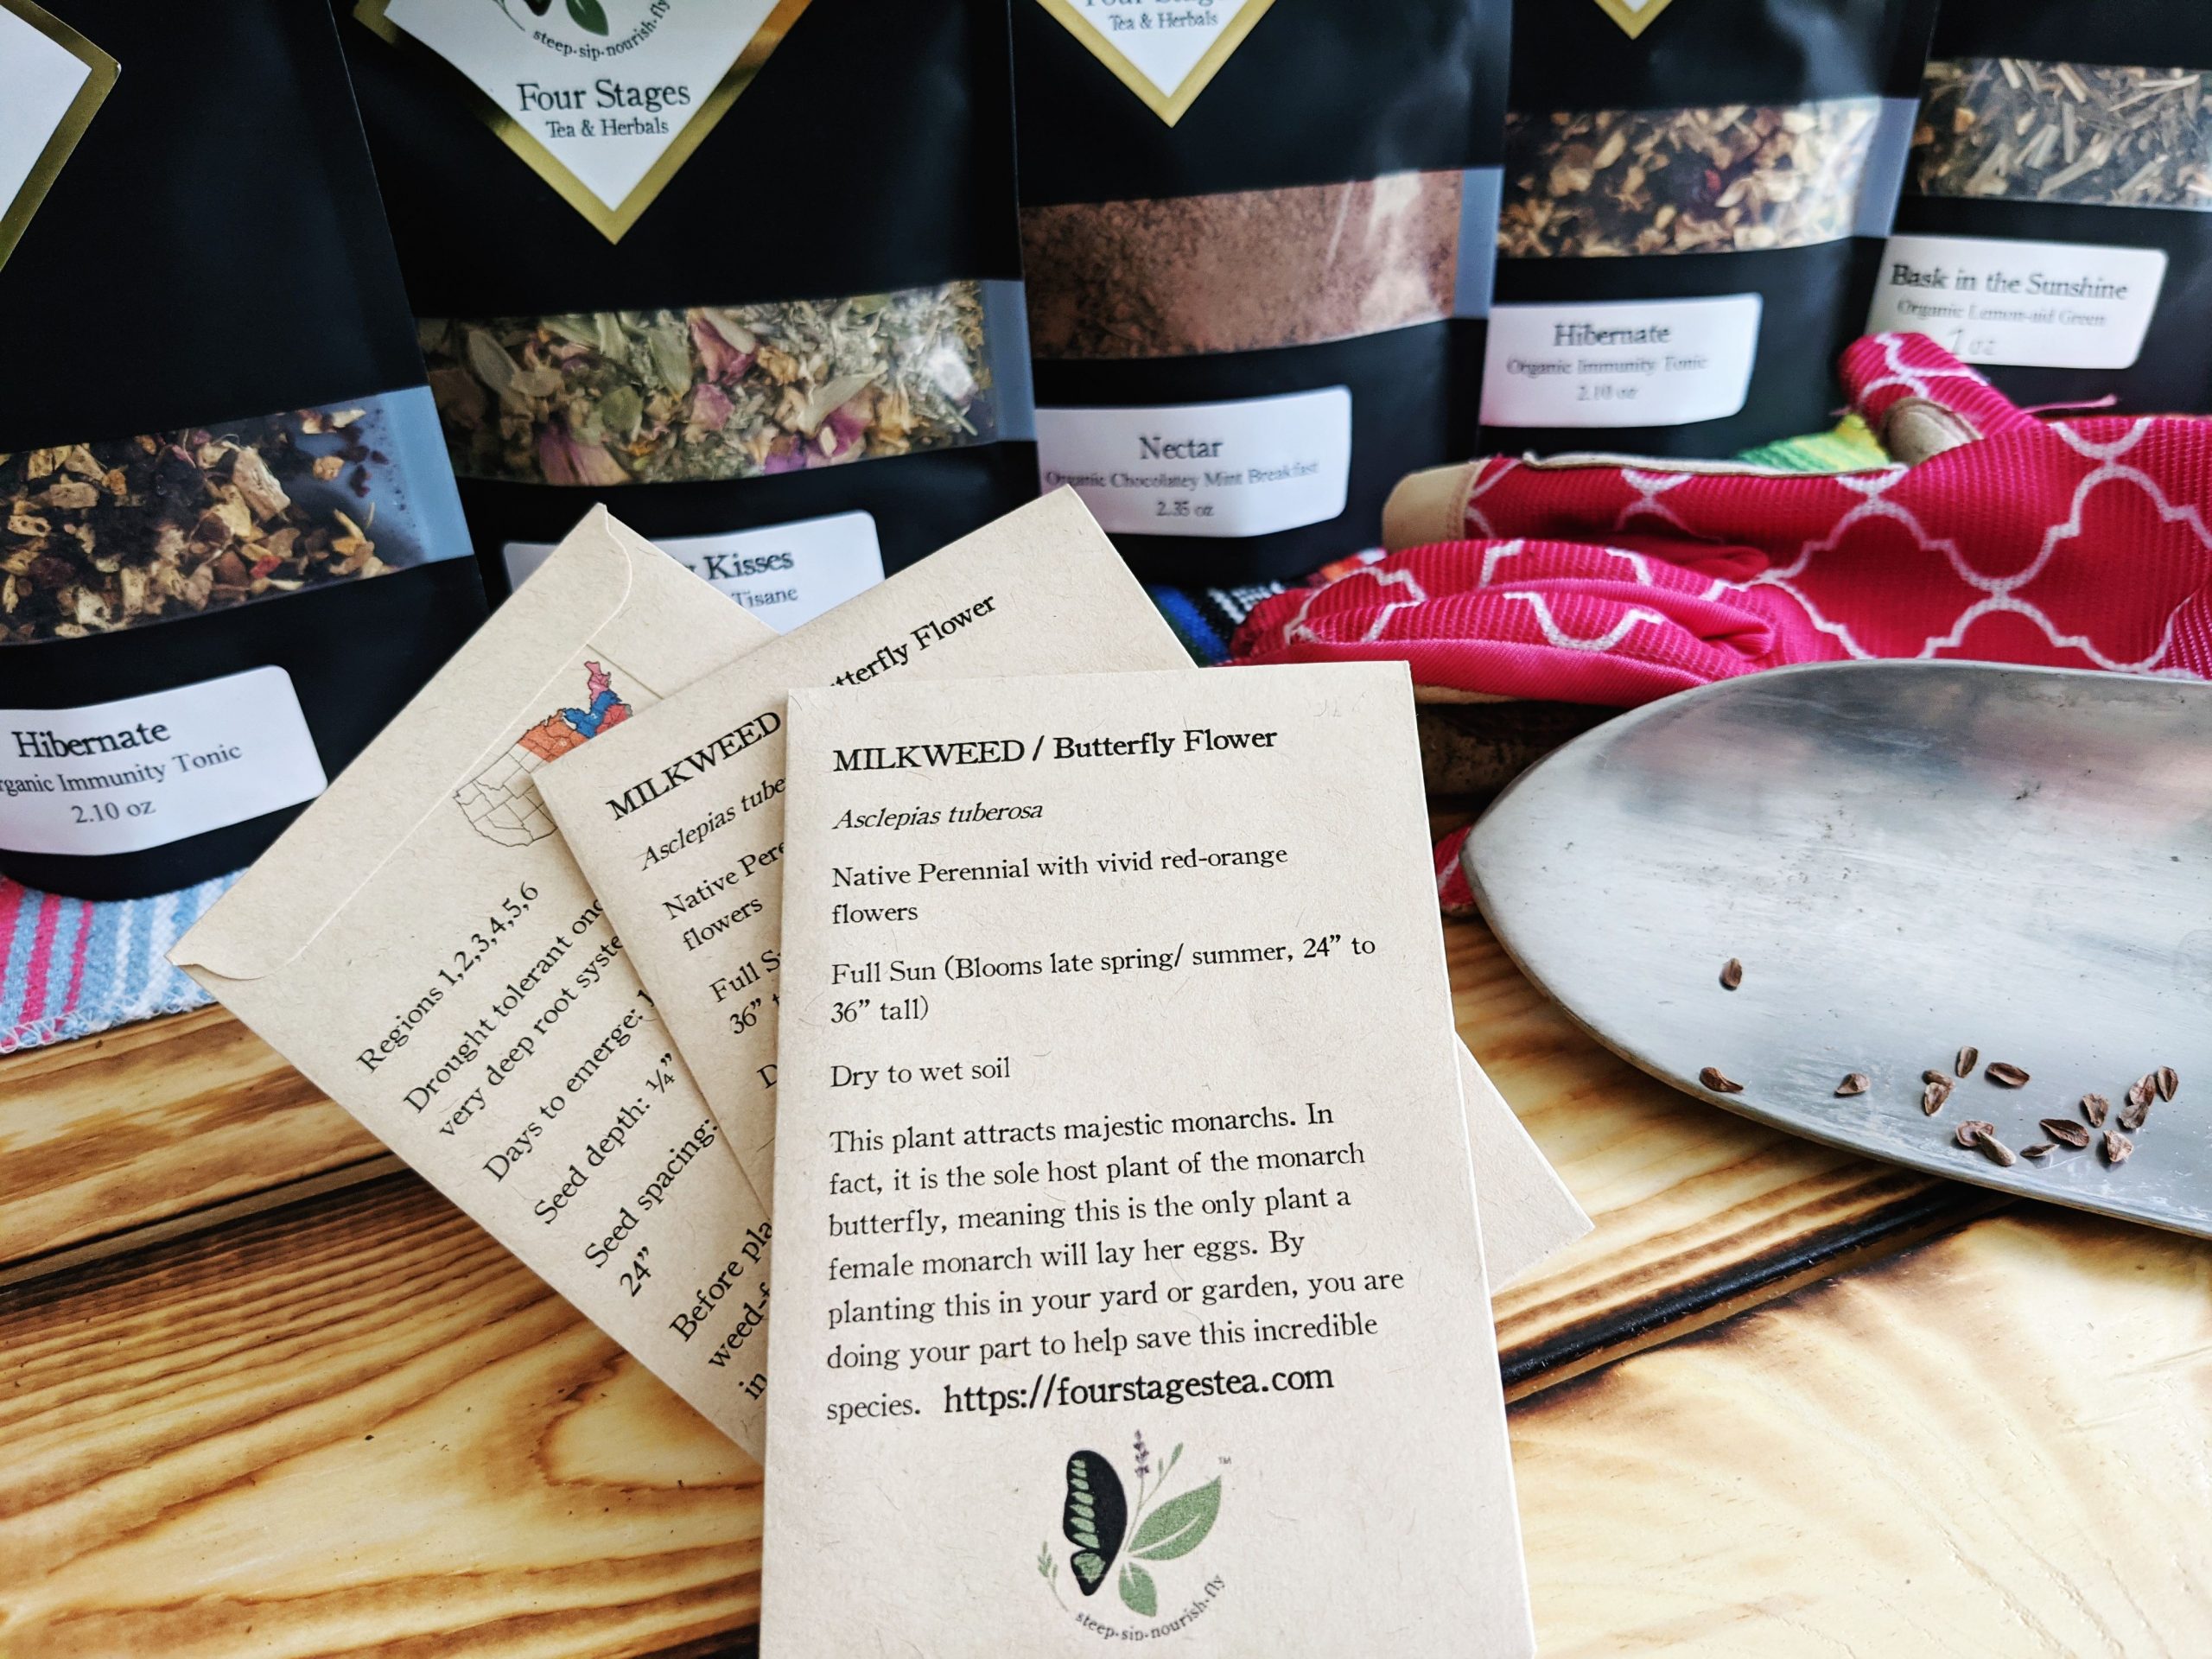
Below are instructions from Monarch Watch on growing milkweed. You can learn more about the milkweed planting process here.
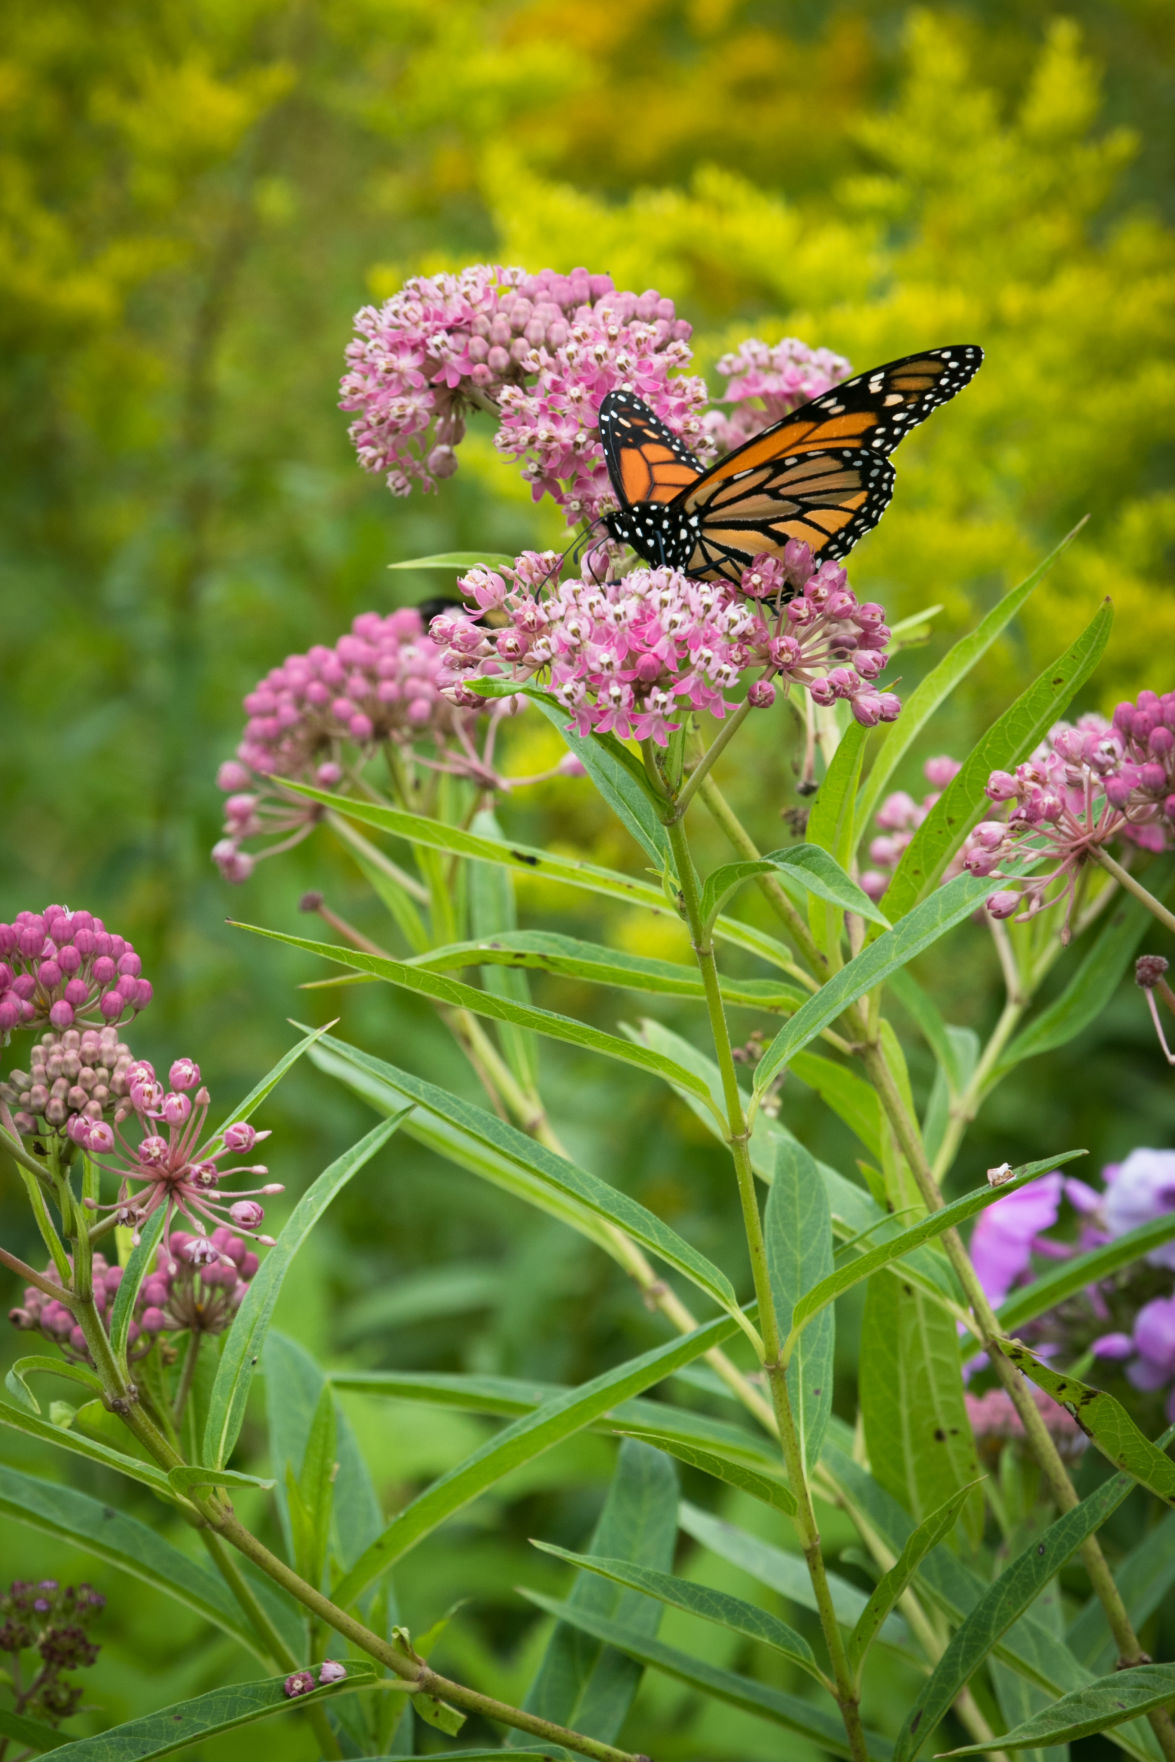
Happy growing! You are doing your part in helping to save the monarch butterfly.
Introduction
Milkweeds can be propagated from seeds, cuttings, and, in some cases, from root divisions. This account will deal with storage, treatment and planting of milkweeds seeds and will briefly touch on propagation from cuttings.
Milkweed seeds can be planted in prepared beds outdoors or started indoors in flats. We recommend the latter approach since germination rates are generally higher indoors and it is easier to establish your milkweeds with transplanted seedlings that are well-rooted and therefore more resistant to weather extremes and pests.
Germinating, Growing and Transplanting
Milkweed seedlings can be started indoors in a greenhouse or under artificial lighting and then transplanted outdoors after the average date of last frost. If seeds are started indoors, allow 4-8 weeks growing time before transplanting. Plastic flats can be used to start the seeds. Fill the flats with a soil mix suitable for seedlings (most potting mixes are), thoroughly soak the soil, and let the excess water drain. Sow the seeds by scattering them on the soil surface 1/4-1/2 inch apart, and then cover with about 1/4 inch of additional soil mix. Gently mist the soil surface with water to dampen the additional soil mix that has been added. In an effort to improve germination rates, many gardeners place the seeds in packets made from paper towels and soak them in warm water for 24 hours prior to planting. This method seems to work especially well for seeds of species that require stratification.
After the seeds are sown in the flats, cover each flat with a clear plastic cover or a plastic bag to keep the seeds from drying out while germinating. Then, place the flat under grow lights, in a warm sunny window, or in a greenhouse. Most seeds will germinate in 7-10 days if the flats are maintained at 75ËšF. After the seeds have germinated, remove the plastic covering from the flats. Once the seedlings have emerged, the soil should be kept moist by watering the flat from the bottom. You can water from the bottom by placing the flat in a sink or a larger flat filled with 2 inches of water until moisture appears on the soil surface. The soil should be kept moist but some care is needed to keep the seedlings from getting too wet – such conditions contribute to fungal growth that can kill the young seedlings (“damping offâ€). Thinning (see below) can reduce damping off.
The plants are ready to be transplanted when they are about 3-6 inches in height. Before transplanting, acclimate the plants to outdoor conditions for a few days by placing them in a sheltered location during the day and then bringing them indoors at night. The seedlings should be planted 6-24 inches apart depending on the species (check the back of your seed packets for information). Newly transplanted plants should be watered frequently. Add mulch around the seedlings soon after planting. The mulch holds in the moisture and minimizes the growth of competing weeds. The seedlings should be fertilized 2-3 times during the growing season if using water-soluble fertilizer or once a season if you utilize a granulated time-release formulation.
Thinning
When small seeds are sown, they are often mixed with sand or fine soil to have better seed distribution. However, this method does not completely prevent crowding of seedlings and thinning will be necessary. Thinning provides more space between plants, increasing the amount of light reaching the plants and the air circulation around them. Seedlings may need to be thinned several times beginning 1-2 weeks after germination. Without proper thinning, you will end up with weaker plants.
When to Plant
Milkweed seeds can be sown outdoors after the danger of frost has passed. Refer to the seed packets for special instructions on sowing the seeds. Keep in mind that seeds have a range of soil temperatures at which they will germinate. Also, remember that under sunny conditions the soil temperatures can be much higher in the daytime than the ambient air temperatures you experience. Plant the seeds early since those planted late in the season may not germinate because of high temperatures. In addition, new seedlings from late plantings can “dry off” before they are even noticed. Asclepias incarnata (swamp milkweed) and A. syriaca (common milkweed) germinate poorly at high temperatures (>85ËšF). However, other species such as A. curassavica (tropical milkweed) and Cynanchum laeve (blue vine) germinate well at these temperatures. Germination outdoors depends on soil moisture and temperature and could take several weeks if conditions are not ideal.
Preparation of the Seedbed
If you are gardening for the first time, it is wise to consult with your local county extension agent to see if your soil needs to be enhanced (amended) with soil additives before planting the seeds.
A smooth, clump-free, weeded soil bed will virtually guarantee a successful start for germination and seedling establishment. If vegetation exists in the future habitat location, it can be removed by using a tiller or by hoeing the area. To reduce clumping, do not work the soil when it is wet. The soil should be worked to a fine consistency to ensure good soil to seed contact.
The seedbed should be kept moist until germination. As the seedlings become established, it is important to avoid watering too much or too little. A light watering each day until roots are well established (7-10 days), preferably in the morning, should be sufficient.
Growing Milkweeds from Cuttings
All milkweeds are perennials and some can be grown from cuttings. Cuttings provide a way producing new plants in a relatively short time and it avoids some of the difficulties of starting plants from seeds. To start cuttings, cut the stems underwater, then coat the bottom of the stem with a strong rooting hormone. The stems should be placed in sand, vermiculite, or potting soil that is kept continuously moist. Cuttings can usually be transplanted in 6-10 weeks. Survival is best when cuttings are made from green stems (1/3 inch diameter) obtained from plants fertilized two weeks earlier.
Soil Types
If you have a choice, light soils are better than those with heavy clay. Well-drained soils are generally best but there are some species, e.g. A. incarnata (swamp milkweed) and A. sullivantii, which do well in saturated conditions.
Where to Plant
Most milkweed species evolved in open areas where they were exposed to full sunlight and they will do best if they are planted in the sunniest areas of your gardens. A few species, such as A. purpurascens, appear to require partial shade.
Harvest and Storage of Milkweed Seeds
The timing of the collection of milkweed pods or seeds is critical. Mature pods are those that are within a day or two of opening. If you squeeze the pods and they don’t open easily, they usually do not contain mature brown seeds. Seeds well into the process of browning and hardening will germinate when planted the next season. Pale or white seeds should be not collected. Freshly collected pods dry should be dried in an open area with good air circulation. Once the pods are thoroughly dry, the seeds can be separated from the coma, or silk-like ballooning material, by hand. Separation of seeds can also be accomplished by stripping the seeds and coma from the pods into a paper bag. Shake the contents of the bag vigorously to separate the seeds from the coma and then cut a small hole in a corner of the bottom of the bag and shake out the seeds. Store dried seeds in a cool, dry place protected from mice and insects – a plastic bag (reclosable) or other container in the refrigerator works well.
Stratification
Seeds of most temperate plants need to be stratified, which is a fancy way of saying that they need cold treatment. To stratify seeds, place them in cold, moist potting soil (sterilized soil is best but is not required) in a dark place for several weeks or months. Since most people prefer not to place potting soil in their refrigerators, an alternative is to place the seeds between moist paper towels in a plastic bag. This procedure works well, in part because there are fewer fungi and bacteria available to attack the seeds. After a stratification period of 3-6 weeks, the seeds can be planted in warm (70ËšF), moist soil. Without stratification, the percentage of seeds that germinate is usually low. Seeds from the tropical milkweed, Asclepias curassavica (and other tropical milkweed species) do not require this treatment. “Shocking” seeds that have been refrigerated by soaking them in warm water for 24 hours also seems to improve germination rates.
Heat Shocking
If you have the time, cold treatment is the way to go but if you are short on time, heat shocking the seeds is another (though typically less reliable) method to increase germination rates of milkweed seeds. To heat shock the seeds, soak them in hot (120-130F) tap water for 12 hours, then drain and repeat three (3) times. Place the seeds in a plastic bag wrapped in a warm, damp paper towel for 24 hours.
Scarification
Even after stratification, seeds of many plant species will not germinate. In these cases, the seed coats appear to require action by physical or chemical agents to break down or abrade the seed coat. “Scarification” with some type of physical abrasion that breaks the seed coat usually works and can be accomplished by placing the seeds in a container with coarse sand and shaking the container for a 30 seconds or so. Scarification may be required for some milkweeds (e.g., A. viridiflora and A. latifolia) and might improve the germination rates of other species.
July 30, 2021